Minecraft is one of the most flexible games ever created, mainly because of the huge number of mods available. Mods allow players to add new features, improve graphics, introduce new items, and even completely change gameplay mechanics. If you are using Mojo Launcher, installing Minecraft mods is possible with a few simple steps.
This guide will explain how to install Minecraft mods in Mojo Launcher, along with helpful tips to avoid errors and compatibility issues.
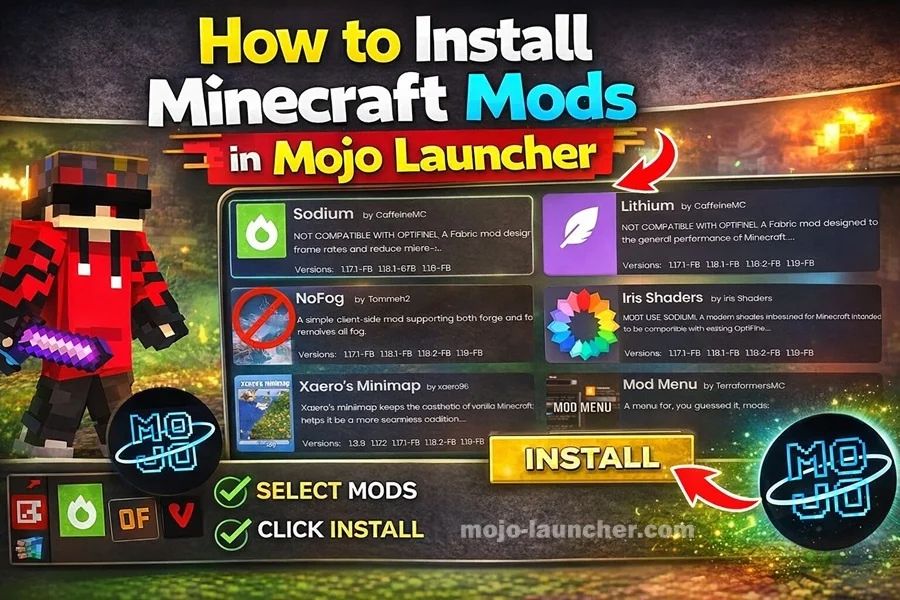
What Are Minecraft Mods?
Mods are custom modifications created by developers or members of the Minecraft community. These modifications change or enhance the original game by adding new content.
Some common mod features include:
- New blocks and items
- Improved graphics and animations
- Additional mobs and creatures
- New game mechanics
- Better performance tools
Mods can transform the basic Minecraft experience into something completely different.
Requirements Before Installing Mods
Before installing mods through Mojo Launcher, you should prepare the following:
- A working installation of Minecraft in Mojo Launcher
- A mod loader such as Forge or Fabric
- The mod files in .jar format
- A compatible Minecraft version
Most mods are designed for specific versions of Minecraft, so using the correct version is important.
Also read: How to Add Texture Packs in Mojo Launcher
Step-by-Step Guide to Install Mods in Mojo Launcher
Step 1: Install Forge or Fabric
First, install a mod loader such as Minecraft Forge or Fabric. These tools allow Minecraft to run mods properly.
Inside Mojo Launcher:
- Open the launcher
- Select Installations
- Choose a version with Forge or Fabric support
Step 2: Download Minecraft Mods
Next, download mods from a trusted Minecraft mod website. Make sure:
- The mod version matches your Minecraft version
- The file format is .jar
Avoid downloading mods from unknown sources to prevent security risks.
Step 3: Locate the Mods Folder
- After downloading the mod file, go to the Minecraft folder on your device.
- The folder path is usually:
- .minecraft/mods
If the mods folder does not exist, create a new folder named mods.
Step 4: Add the Mod File
- Copy the downloaded .jar mod file into the mods folder.
Make sure the file is placed directly inside the folder and not inside another subfolder.
Step 5: Launch Minecraft with Mojo Launcher
- Open Mojo Launcher and start Minecraft using the Forge or Fabric version you installed earlier.
- When the game loads, it will automatically detect and activate the mod.
Also Read: Best Minecraft Shaders for Mojo Launcher
Tips for Installing Mods Successfully
- Use mods designed for the same Minecraft version
- Avoid installing too many mods at once
- Keep mods updated regularly
- Use lightweight mods if your device has limited resources
Following these tips will help prevent crashes and performance issues.
Common Problems and Fixes
- Problem: Game Crashes After Installing Mods
- Solution: Remove recently installed mods and restart the game.
- Problem: Mod Not Appearing in Game
- Solution: Check if the mod file is placed correctly in the mods folder.
- Problem: Version Compatibility Issues
- Solution: Ensure the mod supports the exact Minecraft version you are running.
Conclusion
Installing Minecraft mods in Mojo Launcher allows players to expand their gameplay experience with new content and features. By installing a mod loader, placing mod files in the correct folder, and launching the game through Mojo Launcher, you can enjoy a fully customized Minecraft world.
Mods bring endless creativity and possibilities to Minecraft, making the game even more exciting for players of all skill levels.